How-To: Personalized T-Shirts

by: Jessica Pirro
Whenever I have a concert or a tailgate to attend, I love to make my own t-shirts. Creating pieces myself is an extremely rewarding feeling. This summer, my friends and I went to a Beyoncé concert, and let’s be honest, concert tees are WAY too expensive. So, we decided to make our own. They were extremely easy to make, and fortunately, they are perfect for any event!

How to Make a Bleach Pen T-Shirt
You will need:
Bleach pen | Pencil | Dark T-shirt
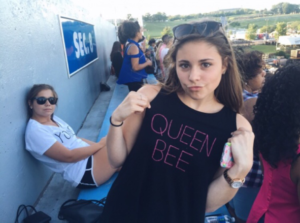
- Pick a dark shirt to make sure the bleach pen stands out. Black is always a great choice, but navy works too.
- Measure out your letters to keep the words centered. Then write them using a pencil to check that they look the way you want before you write them permanently.
- Keep steady and trace your letters (or design) and voila, you’ve got a new t-shirt!

How to make an Iron-On T-Shirt
You will need:
Lighter T-shirt | Iron-on paper | Printer | Scissor | Desired design | Iron
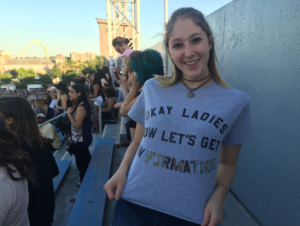
- Pick out a t-shirt opposite of the one needed for the bleach shirt. This type of shirt does better when it’s lighter because the iron-on letters will show up better.
- Pick your design. When I made this shirt, I really wanted the word FORMATION to be filled with lemons since it was the Formation World Tour and she had just released her album Lemonade (clever, I know). To do this, I just wrote the saying I wanted in Microsoft Word, then filled the font with my design. Once you have your design or saying picked out, make sure you flip it backwards in Word before you print. When you iron it on, it will show up the opposite of how it’s printed.
- Make sure you have iron-on paper to print your design on. Once you’ve printed your design, cut it out, iron it onto the shirt, and you’re done!